DIY Cold Plunge Chiller Setup: The Complete Build Guide (Tub, Chiller, Pump & Filter)
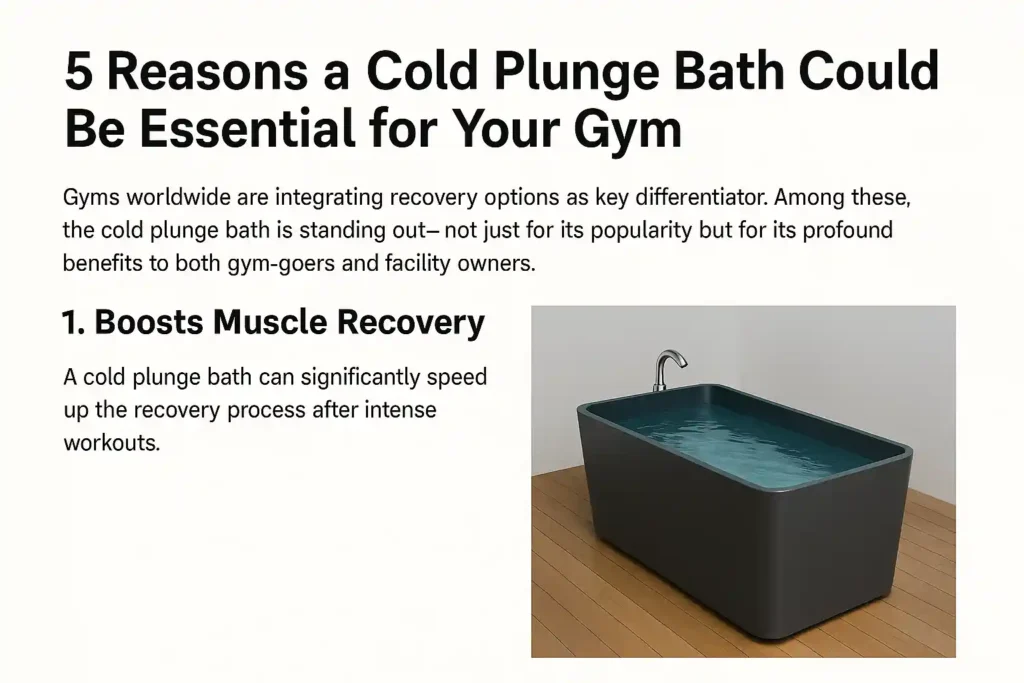
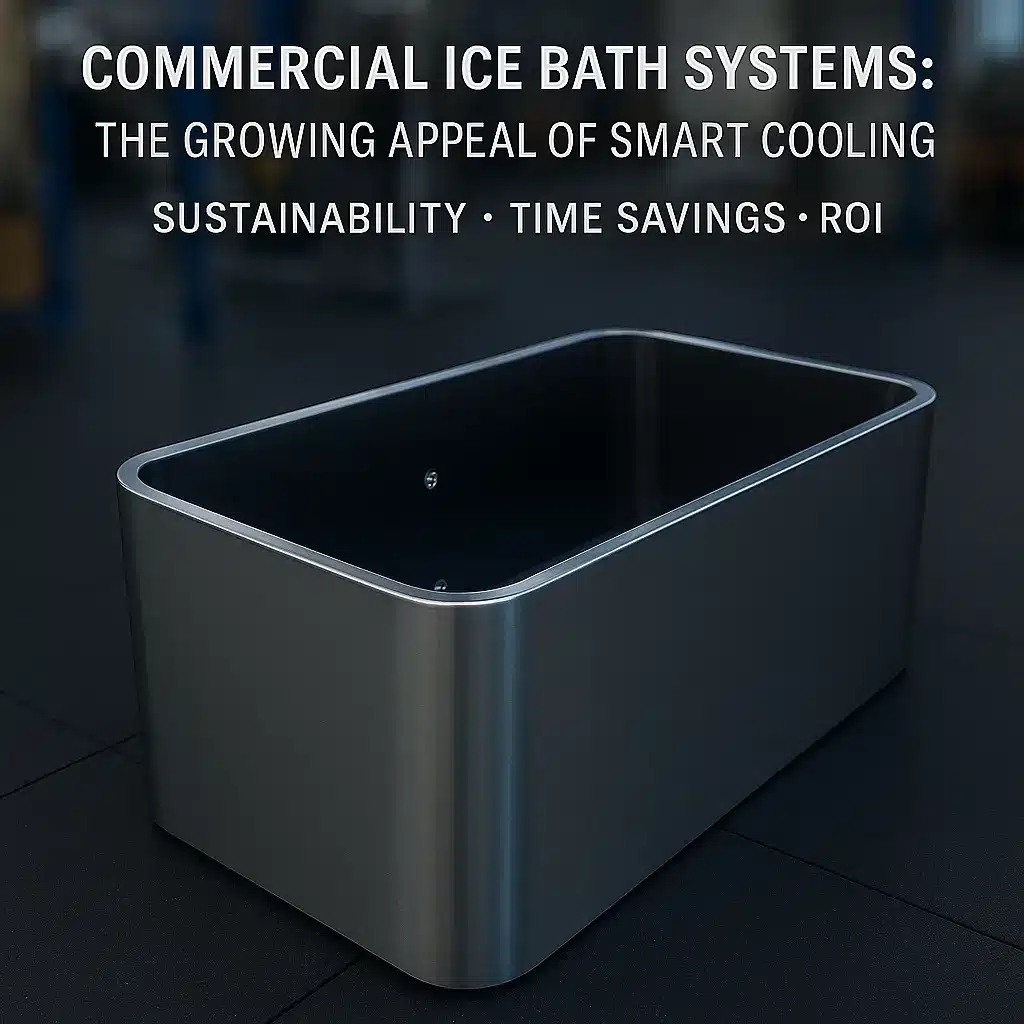
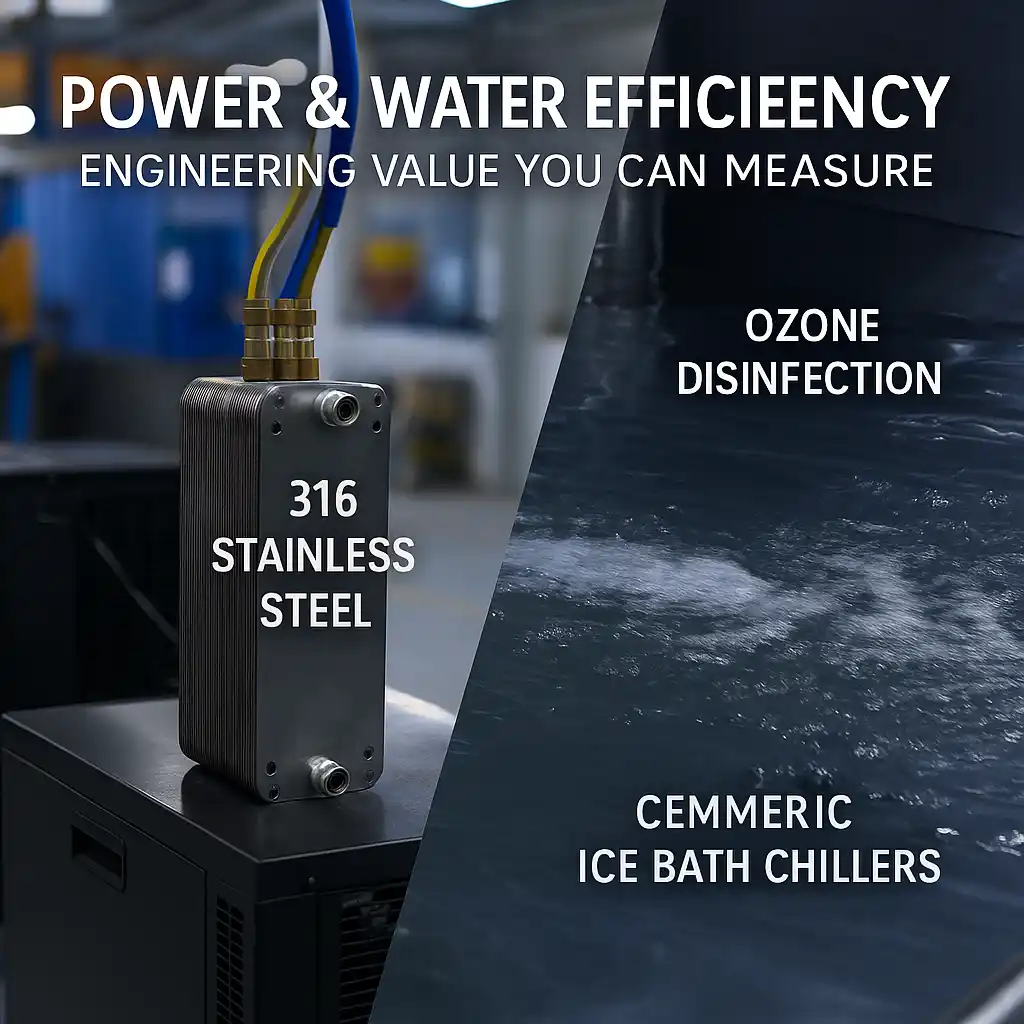
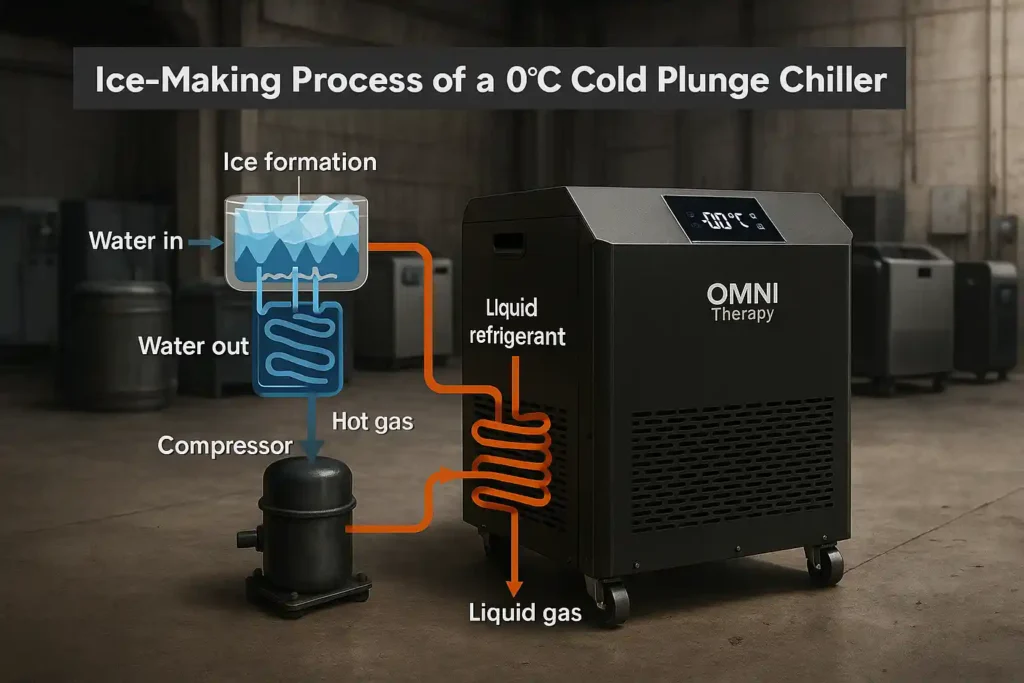
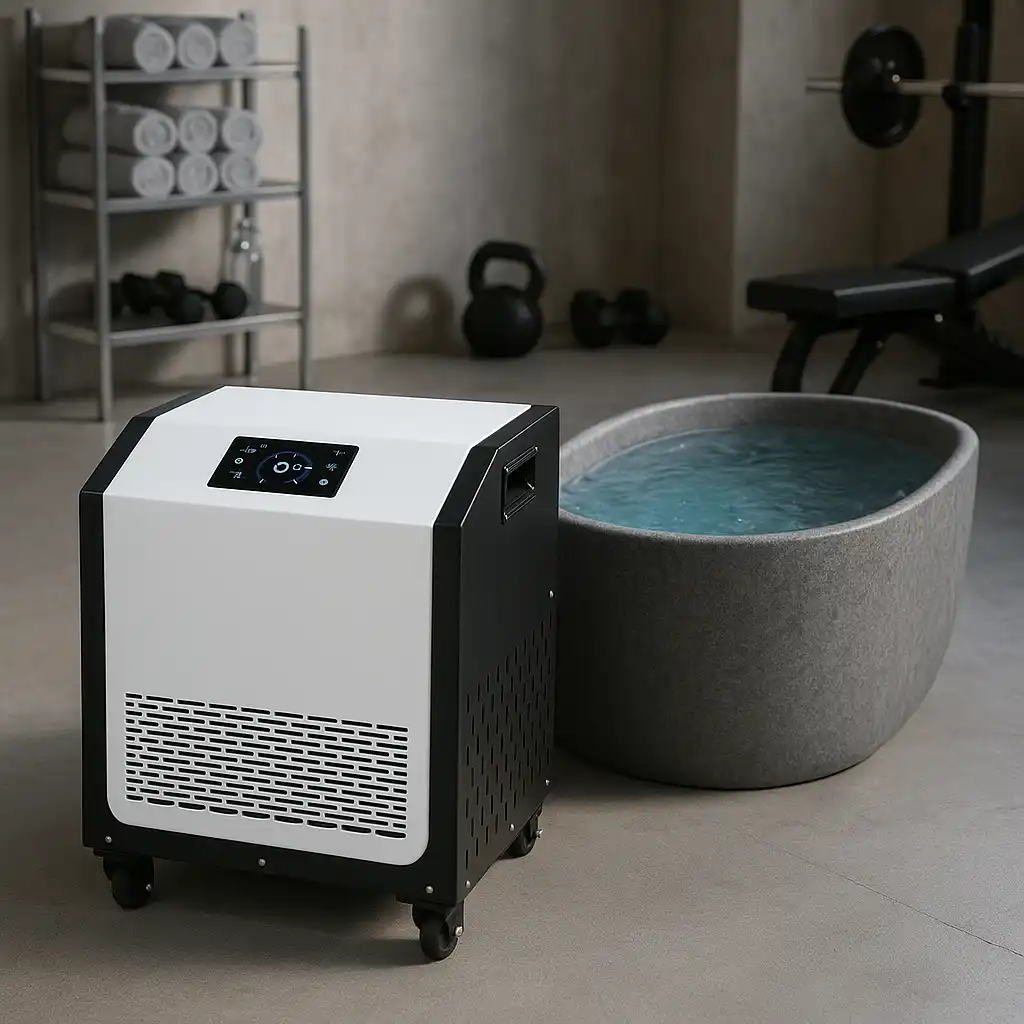
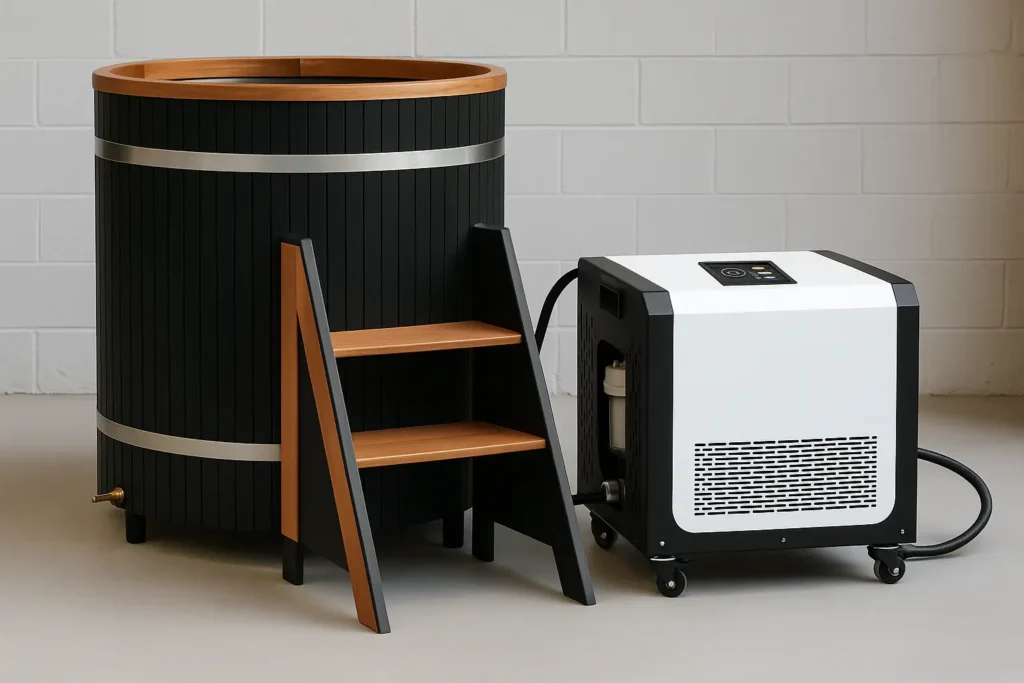
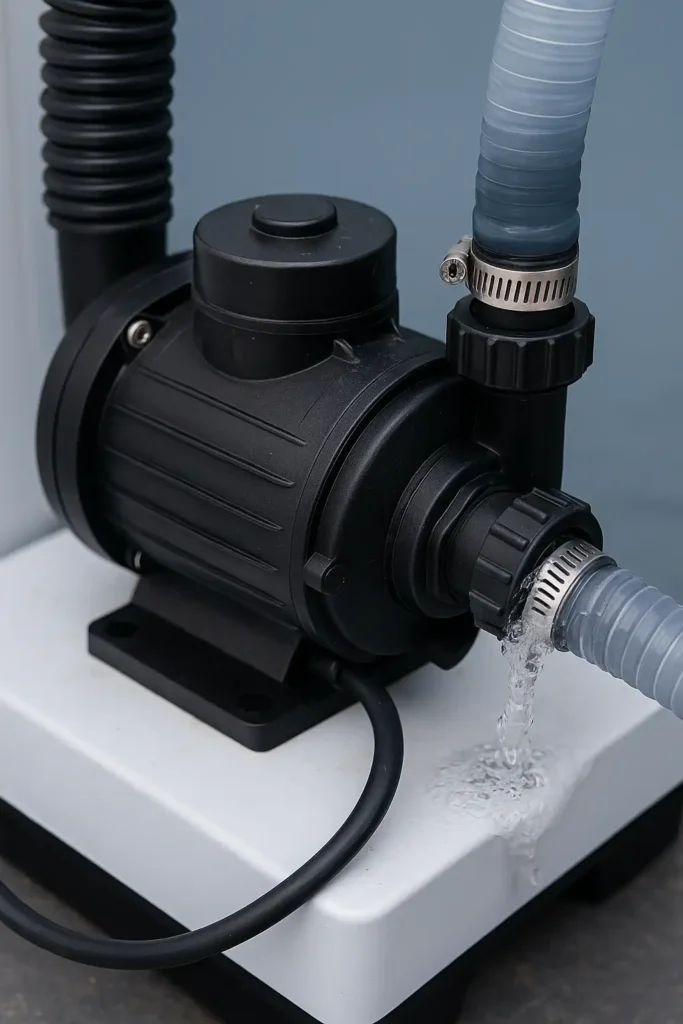
Building a DIY cold plunge chiller setup has never been more accessible — but most guides skip the part that matters most: choosing the right components for your specific tub size and climate. Get this wrong and you end up with a chiller that runs for six hours to drop the water five degrees. Get it right and you have a system that holds 39°F (4°C) around the clock, costs a fraction of a pre-built unit, and lasts for years. This guide covers every component you need, how to size your cold plunge chiller correctly, how to connect everything, and the most common mistakes that turn a DIY build into an expensive headache. Whether you are working with an inflatable tub, a stock tank, or a custom vessel, the same principles apply. Why Build a DIY Cold Tub Cold Plunge Chiller System? The pre-built cold plunge market has exploded in the last three years. Brands like Plunge, Ice Barrel, and dozens of others now sell complete systems — but the price tags reflect it. A branded cold plunge with a built-in chiller routinely costs between $3,500 and $8,000. For a gym owner or serious home user who understands the components, that number is hard to justify. A well-built DIY cold tub cold plunge chiller system using commercial-grade parts typically costs between $900 and $2,200 depending on tub size and chiller HP. The performance is identical. In many cases, because you are selecting components independently, the build quality is actually higher than mass-market consumer units. The other advantage is repairability. When a branded system fails outside its warranty window, you are often looking at proprietary parts and expensive service calls. A DIY build uses standard components — chillers, pumps, filters — that can each be serviced or replaced independently without touching the rest of the system. DIY vs Pre-Built: Cost Breakdown Component DIY Cost (est.) Pre-Built Equivalent Cold plunge tub (100 gal acrylic) $300–$600 $3,500–$8,000Complete system 1HP water chiller $400–$900 Circulation pump $60–$120 Filter system $80–$180 Hoses, fittings, insulation $60–$120 DIY Total $900–$1,920 The math is straightforward. Even at the high end of the DIY range, you are saving $1,500 to $6,000 compared to a premium branded system. That gap widens further when you factor in that commercial-grade DIY components often outlast consumer-grade all-in-one units. What You Need: The Complete DIY Cold Plunge Chiller Kit List A complete cold plunge chiller kit has five core components. Every single one matters. Skipping or underspecifying any one of them creates problems that are frustrating to diagnose after the fact. 1. The Cold Plunge Tub Your tub determines everything downstream — chiller HP, pump flow rate, and filter sizing. The three most common materials for DIY builds are acrylic, stainless steel, and inflatable vinyl. Acrylic tubs offer excellent insulation and a clean aesthetic. They are the most popular choice for home gyms and indoor setups. A quality acrylic cold plunge tub in the 80–120 gallon range is the ideal starting point for most single-user systems. Stainless steel is the commercial standard. A stainless steel cold plunge tub handles daily multi-user traffic, is easy to sanitize, and does not degrade over time. The trade-off is lower insulation — your chiller will work harder in warm climates. Inflatable tubs work well for users who need portability or are testing the concept before committing. A good inflatable ice bath tub with thick walls can hold temperature reasonably well when paired with the right chiller. Just be aware that thin-walled inflatables will require a more powerful unit to compensate for heat transfer. For most DIY builds, a 80–130 gallon tub is the sweet spot. Large enough for full immersion, small enough for a 1HP chiller to manage efficiently. 2. The Water Chiller This is the heart of the system. The chiller pulls heat out of the water and exhausts it into the air, maintaining your target temperature continuously. Choosing the wrong chiller HP is the single most common and most expensive mistake in DIY builds. We cover HP selection in detail in the sizing section below. For commercial-grade reliability in a DIY context, factory-direct chillers offer the best value. You get the same industrial compressor and refrigeration components used in professional facilities, without the brand premium. The cold plunge chiller lineup from OMNI Ice, for example, covers 0.5HP through 2HP with CE and ETL certification — the same compliance standards required in commercial facilities. 3. The Circulation Pump The pump moves water from the tub through the chiller and back. Most chillers do not include a pump — you select one separately based on your plumbing distance and tub volume. A standard 80–130 gallon build needs a pump with 800–1,200 GPH flow rate. Higher is not always better; excessive flow can cause turbulence that reduces the chiller’s efficiency. Pump placement matters. An external inline pump gives you better flow control and is easier to service than a submersible. For troubleshooting common pump issues after your build is running, see our cold plunge pump troubleshooting guide. 4. The Filter System Cold water — especially below 10°C — does not sanitize itself. Without filtration, a cold plunge develops biofilm, algae, and bacterial growth within days. A proper cold plunge chiller filter setup removes particulates and, when combined with an ozone or UV sanitation stage, eliminates pathogens entirely. The minimum viable filter for a single-user home build is a 10–20 micron cartridge filter with a bypass valve. For multi-user setups, a dual-stage system with a pre-filter and a fine cartridge stage is standard. For detailed filtration configurations and maintenance schedules, read our complete chiller filter setup guide. The CDC water sanitation guidelines recommend filtration and disinfection for any shared therapeutic water system. For personal use, filtration alone is adequate if you change the water every 5–7 days. 5. Hoses, Fittings & Insulation Use food-grade reinforced PVC hose — at least 3/4 inch internal diameter for most builds. Fittings should be barbed and clamped, not threaded, to prevent leaks at temperature extremes. Insulate any hose runs longer than 2 feet with pipe foam — heat gain through uninsulated hoses in a warm room will add meaningfully
DIY Cold Plunge Chiller Setup: The Complete Build Guide (Tub, Chiller, Pump & Filter) Read More »