Every autumn, tech support phone lines at water chiller manufacturing plants receive the exact same frantic call: a customer bought a brand-new 1 HP cooling unit, set it up on their backyard patio, threw a heavy waterproof fabric cover over it to protect it from a weekend rain shower, and within ten minutes the machine shut down with a screaming alarm code. When they lift the fabric, the chassis feels like an overheated oven, the fan motor smells like scorched winding lacquer, and the digital controller is locked out on a high-pressure refrigerant trip.
The instinct to put a protective cold plunge chiller cover over an expensive piece of outdoor mechanical equipment is completely understandable. You just spent thousands of dollars on a dedicated cold therapy system, and seeing rain, pine needles, or blowing dirt hit the cabinet triggers an immediate desire to shield it. But treating a refrigeration machine like a stationary patio sofa or a barbecue grill is one of the fastest ways to destroy a scroll or rotary compressor. There is a massive physical difference between a storage cover designed for a drained, disconnected unit during freezing winter months, and an operating enclosure engineered to allow massive heat rejection while deflecting driving rain.
The Thermodynamic Trap: What Happens When a Running Chiller Is Covered
To understand why throwing a slipcover over an active chiller causes instantaneous failure, you have to look at what the machine is actually doing. A water chiller does not create cold; it extracts thermal energy from 100 gallons of tub water and mechanically pumps that heat into the surrounding air. In a typical 1 HP commercial-grade unit, the compressor and titanium coaxial heat exchanger absorb heat from the water loop and dump roughly 2,500 to 3,000 watts of thermal energy through an aluminum-finned condenser coil every single hour.
That heat rejection requires an uninterrupted volume of cool ambient air—typically between 450 and 650 cubic feet per minute (CFM)—pulled across the coil by a high-velocity axial fan. When you drape a fabric, vinyl, or canvas cold plunge chiller cover directly over the cabinet while the power is on, you create an airtight chokehold with zero static pressure tolerance:
- Immediate Airflow Starvation: The axial condenser fan pulls against a solid fabric barrier, dropping CFM from 550 down to zero. The fan blade cavitates, vibrating violently as static backpressure spikes.
- Thermal Recirculation Loop: Any hot air that manages to squeeze out the side vents gets sucked immediately back into the intake louvers beneath the fabric hem, creating a closed thermal runaway loop. The ambient temperature inside the cover jumps from 70°F to 145°F in less than 180 seconds.
- Refrigerant Head Pressure Spikes: Without cool air passing across the fins, the high-pressure gaseous refrigerant (whether R32 or R410A) cannot condense into liquid. Head pressure spikes past 380–420 PSI.
- High-Pressure Safety Lockout: The built-in mechanical or digital high-pressure switch trips to keep the copper discharge lines from rupturing. If that safety switch fails or is repeatedly power-cycled without clearing the thermal load, the compressor motor windings overheat, baking the internal oil and causing permanent mechanical seizure.
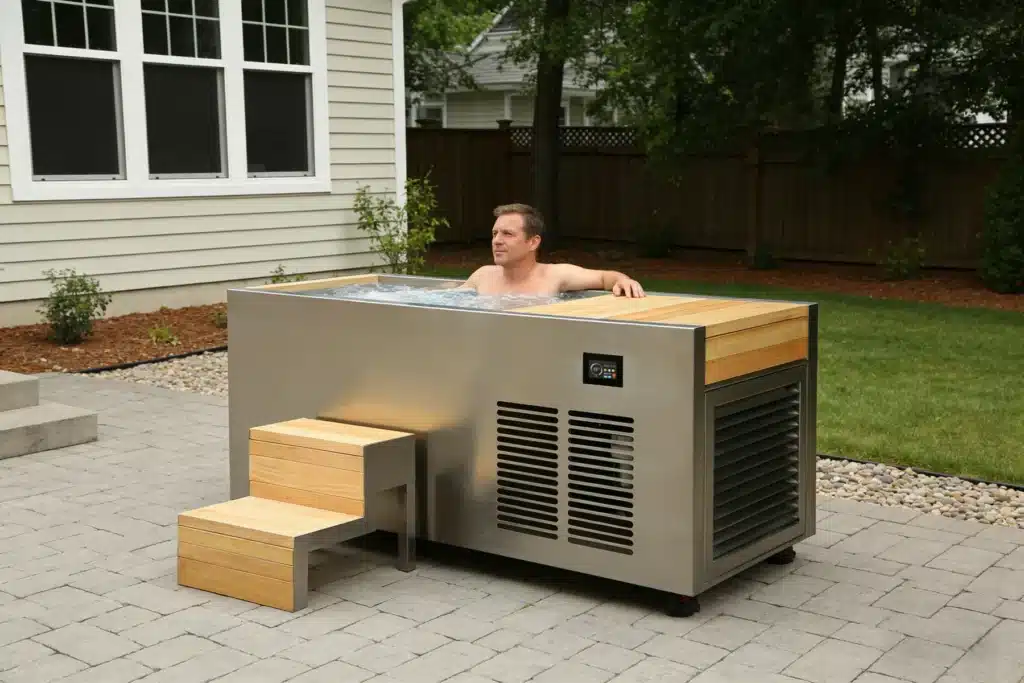
A dedicated outdoor cold plunge chiller operating on an open patio requires unobstructed perimeter clearances for continuous condenser heat rejection.
The Condensation Trap: Why Waterproof Tarp Covers Rot Circuit Boards
Even when the chiller is powered off between daily recovery sessions, keeping a tight, non-breathable waterproof slipcover over the machine outdoors introduces a second, insidious failure mechanism: micro-condensation and galvanic corrosion.
Outdoor cold plunge systems experience extreme diurnal temperature swings. During the day, sunlight heats the dark fabric cover, warming the air trapped underneath. At night, ambient air temperatures drop rapidly, while the chilled water inside the evaporator coil and insulated lines remains cold (typically 38°F to 48°F). This thermal differential creates a localized dew point inside the sealed cover.
Water vapor evaporates from damp ground or patio concrete, gets trapped under the impermeable PVC or rubberized oxford fabric, and condenses directly onto cold metal surfaces inside the machine housing. Over several weeks, this greenhouse effect produces visible puddles inside the internal chassis:
- Printed Circuit Board (PCB) Corrosion: Even with conformal coating, moisture penetrates pin headers, display ribbon cables, and relay contacts, causing green copper oxide fuzz and mysterious communication bus errors (such as E01 or E03 sensor faults).
- Fan Motor Bearing Rust: Condensed droplets run down the motor shaft directly into the sealed ball bearings, washing out grease and causing abrasive squealing within six months of operation.
- Capacitor and Contactor Shorting: Trapped humidity breaks down dielectric insulation on run capacitors and oxidizes magnetic contactor contact pads, leading to arc flash failure during compressor startup.
If you leave a tight vinyl slipcover over an unpowered machine on a humid lawn for two months, the interior electronics will suffer more corrosion than if the unit had simply stood in open air under a pitched patio roof.
Understanding Outdoor Ratings: What Cold Plunge Chillers Can Actually Handle
Many homeowners assume cold plunge chillers are fragile indoor appliances like dehumidifiers or kitchen blenders that short out the second a raindrop touches the grille. In reality, commercial-grade outdoor cold plunge chillers are manufactured inside heavy-gauge galvanized steel or aluminum cabinets with marine-grade powder coating and designed to meet IPX4 water-ingress standards.
An IPX4 rating certifies that the unit is protected against splashing water from any direction. Rain falling from above, splashing off surrounding decking, or wind-blown drizzle striking the louvered side panels will not enter the sealed electrical enclosure. The electrical compartment is typically isolated in a separate NEMA-style sheet metal enclosure with rubber compression gaskets, drip loops on wire harness penetrations, and raised component standoffs.
What the machine cannot handle is standing water. If your patio puddles and the bottom two inches of the chiller cabinet sit submerged in muddy runoff, water will enter through drain weep holes and reach the base plate of the compressor. The unit does not need a fabric cover to survive rainfall; it needs an raised equipment pad.
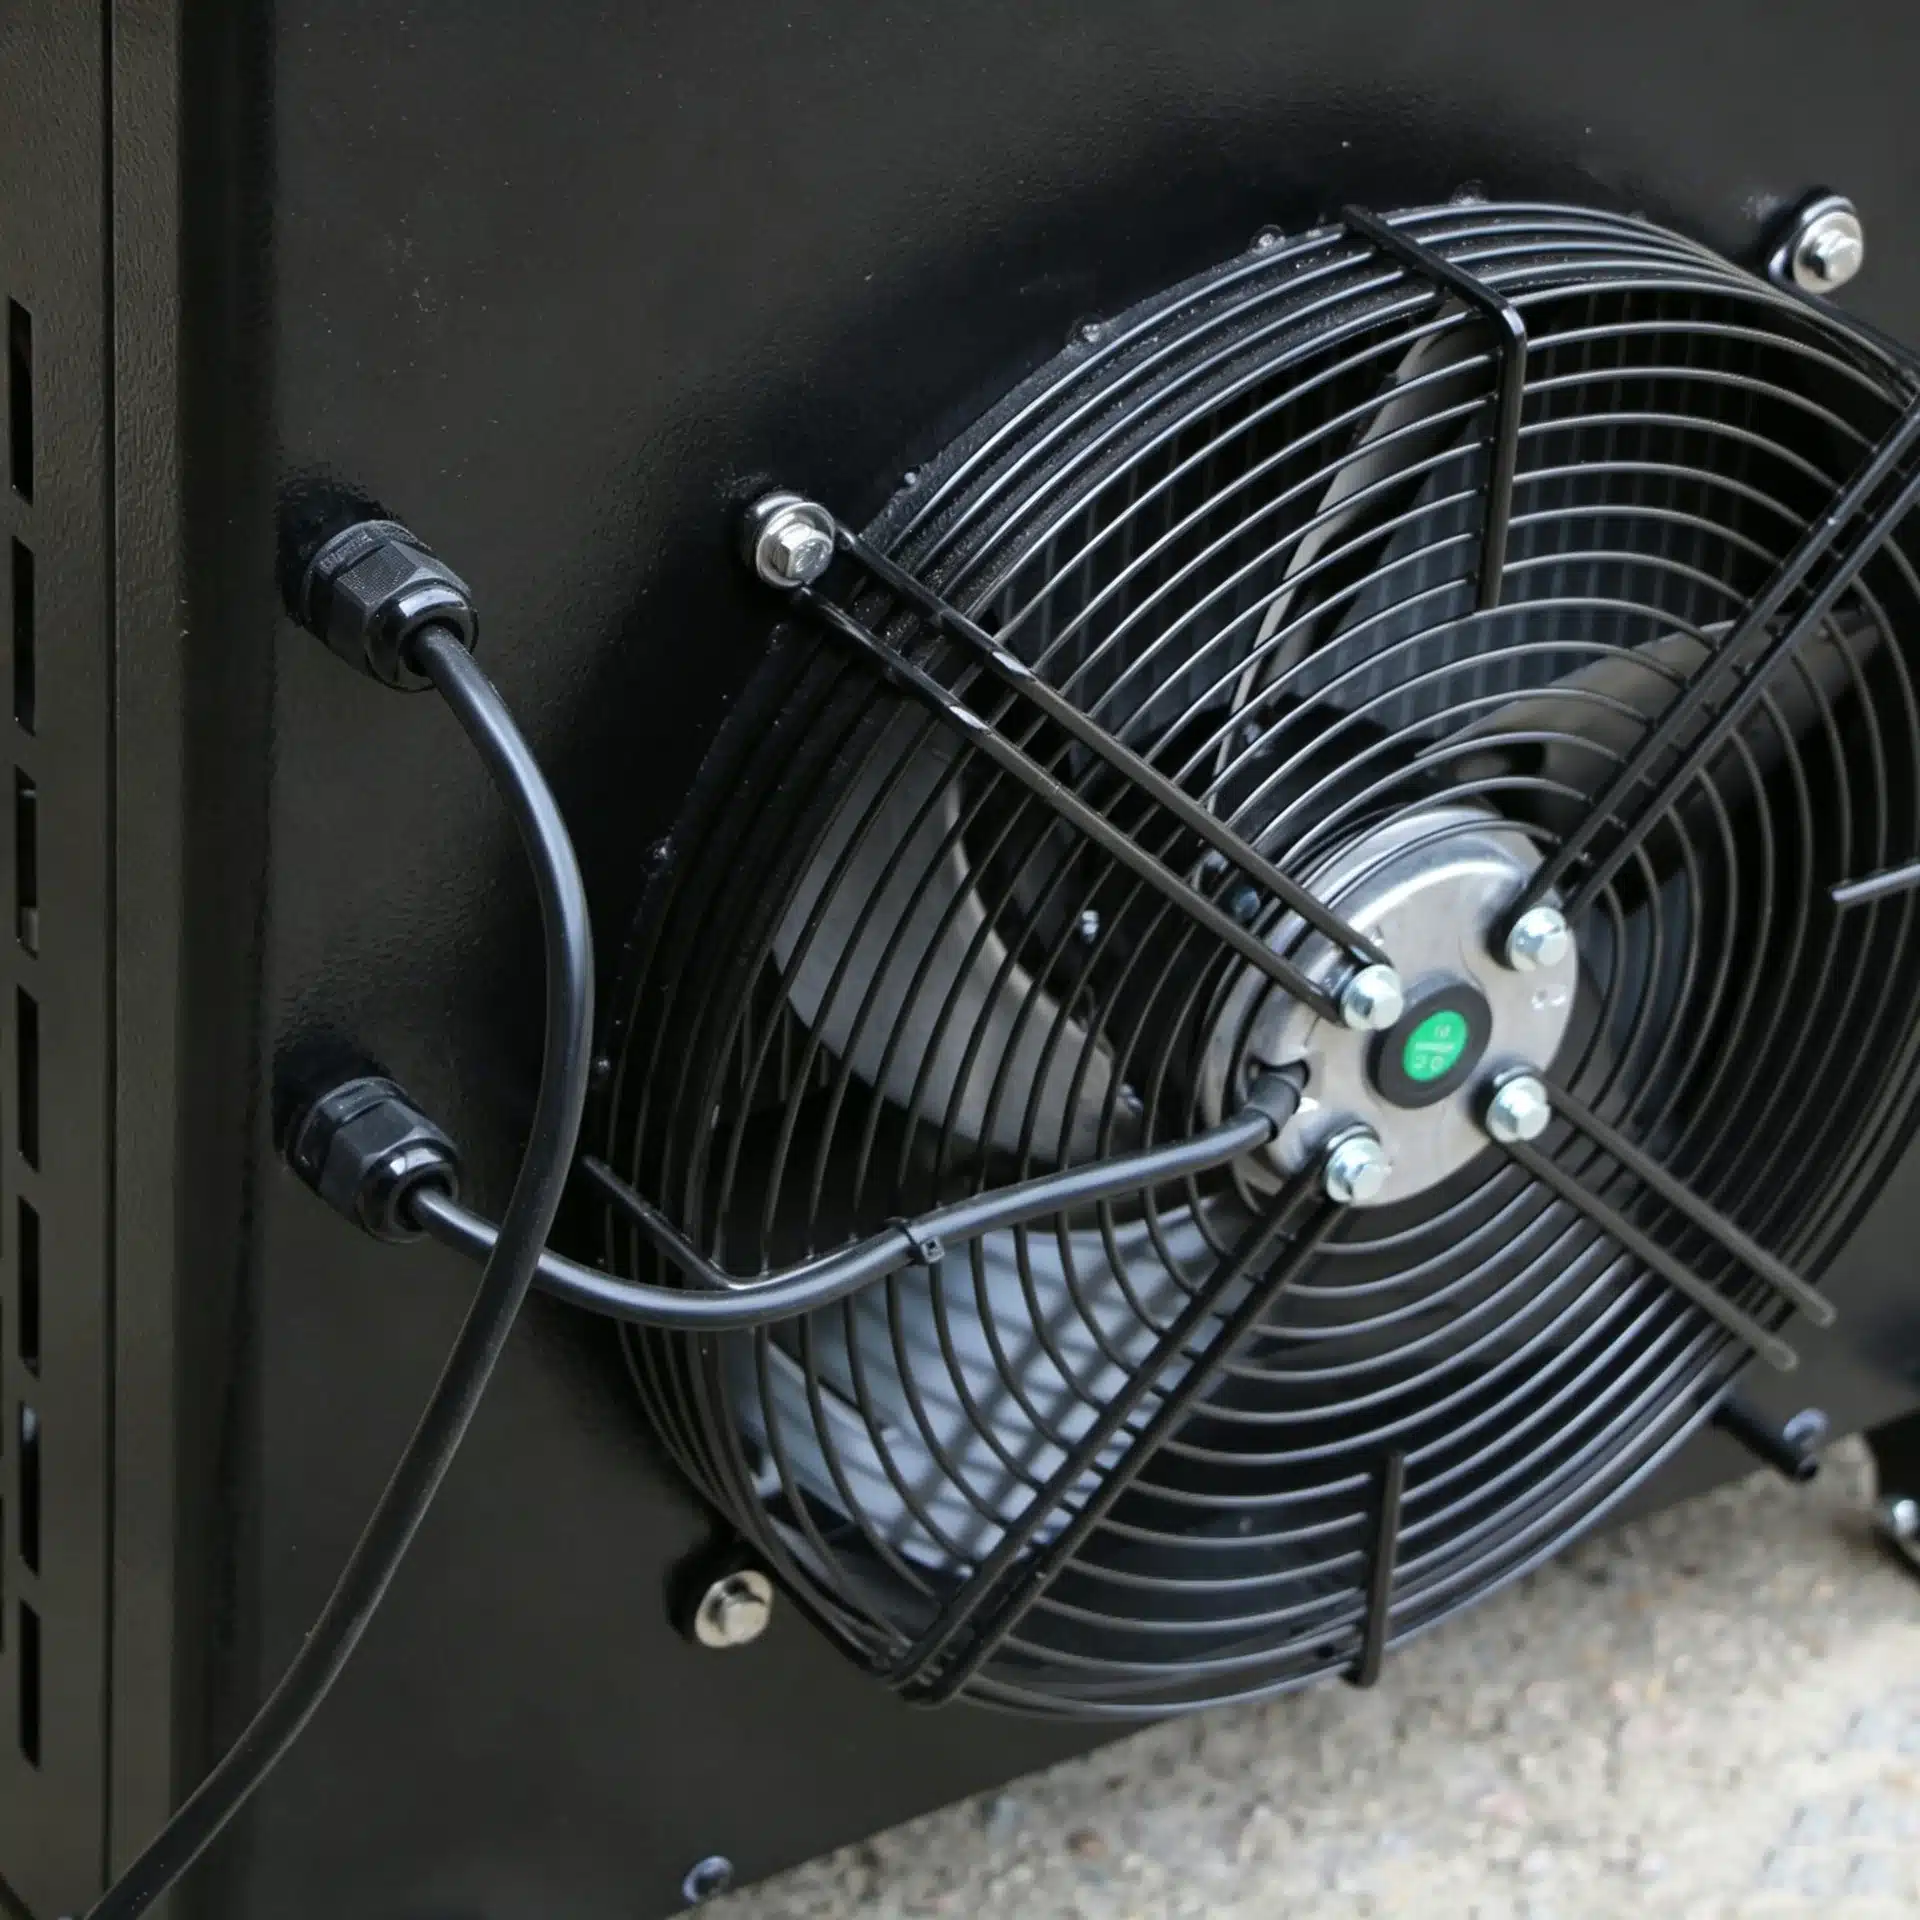
Directional exhaust louvers prevent direct vertical rain entry while preserving low static resistance for high-volume airflow.
The Three Types of Protective Covers (And When to Use Each)
To keep equipment looking new without risking expensive warranty-voiding compressor damage, contractors categorize protective solutions into three functional tiers:
| Cover Category | Permitted Unit State | Primary Purpose | Critical Operational Rule |
|---|---|---|---|
| 1. Heavy Storage Slipcover | Completely Powered Off & Drained | Winter decommissioning, snow buildup, off-season storage | Power cord must be physically unplugged to prevent accidental automation starts. |
| 2. Louvered Protective Enclosure | Continuously Running | Sun shade, acoustic dampening, landscape aesthetics | Must maintain minimum 65% open free-air louver area and 18-inch discharge clearance. |
| 3. Overhead Cantilever Shelter | Continuously Running | Deflecting driving rain, hail, direct UV, and falling leaves | Open perimeter sides; roof positioned at least 30 inches above the top exhaust grille. |
1. Winter Off-Season Slipcovers: The Strict Draining Protocol
If you live in northern climates where sub-freezing winter temperatures make outdoor plunge operation impractical, a fitted waterproof Oxford fabric cold plunge chiller cover is an excellent way to keep snow and freezing rain out of the fan cowl. But you must never slide that cover on while water sits inside the heat exchanger. Before covering for the winter, follow the complete winter storage and drainage protocol: disconnect water hoses, open the bottom drain plug, use an oil-free air compressor at low pressure (under 15 PSI) to blow residual water out of the titanium evaporator barrel, remove the 20-micron filter cartridge, and physically pull the power plug from the wall. Only when the machine is dry and de-energized should a snug storage cover be installed.
2. Louvered Running Enclosures: How to Build Around a Working Machine
Many commercial gym owners and high-end residential clients want their equipment hidden inside a custom wooden or composite enclosure that matches their deck. You can operate an active unit inside a permanent box, but only if you respect air-cooled heat rejection physics. A proper running shelter requires:
- Louver Pitch & Free Area: Slats must angle downward at 45 degrees to shed rain while leaving at least 60% to 70% open surface area across the intake and exhaust faces.
- Intake Clearance: Keep at least 12 to 18 inches of clear space between the chiller intake louvers and the interior wall of the enclosure.
- Exhaust Duct Separation: The hot air discharged from the top or front must never bounce off an interior wall back toward the intake. In tight enclosures, install a rubber duct boot sealing the chiller exhaust fan directly to the exterior louver grille.
3. Overhead Patio Roofs: The Contractor Gold Standard
If your goal is simply protecting the chiller from sun damage, hail, and torrential downpours while keeping it running 24/7 at 39°F, skip fabric covers entirely and build a simple open-air pergola or cantilevered awning. Placing an overhead roof 30 to 36 inches above the machine allows complete, unrestricted 360-degree airflow around the perimeter while completely deflecting midday UV rays and direct vertical downpours. Shading the chiller cabinet from direct summer sunlight can actually lower condensing temperatures by 8°F to 12°F, improving energy efficiency and cutting cooldown cycle times. For complete foundation mounting, electrical code, and solar derating engineering, consult our outdoor chiller unit installation guide.
Key Practical Takeaways for Your Outdoor Setup
When engineering durable commercial cold plunge chiller installations or setting up a personal recovery space in your backyard, keep these four field rules firmly in mind:
- Never power on a chiller with a fabric cover installed: If you use a slipcover for dust protection when leaving town, unplug the main GFCI power cord so an automated scheduled timer or mobile app cycle cannot trigger the compressor remotely.
- Raise the chassis off wet ground: Set the unit on standard 2-inch or 4-inch rubber anti-vibration condenser pads, concrete patio pavers, or a treated composite equipment riser. This prevents standing rain puddles from contacting the bottom metal seams.
- Choose breathable materials for off-season storage: If you use a winter slipcover, choose 600D marine polyester with built-in mesh breathers or velcro ventilation flaps rather than cheap airtight PVC plastic sheeting.
- Inspect intake screens seasonally: Regardless of covering habits, check the condenser coil fins twice a year. Blow out accumulated pollen, pet hair, and dried leaves with a soft brush or low-pressure hose to keep head pressure in optimal range.
Treating your cold plunge chiller like the industrial refrigeration equipment it is—giving it cool air to breathe, a raised dry base, and open space to dump heat—will ensure reliable ice-cold water for thousands of daily plunge sessions without an emergency compressor replacement.