Before starting a ready-made cold plunge chiller
This guide explains how to chill water for cold plunge with a packaged chiller that has already been selected for the installation. It covers the external water connections, filling, circulation checks and first cooling run. It is not a guide to building a refrigeration circuit, opening an electrical enclosure or prescribing a bathing temperature.
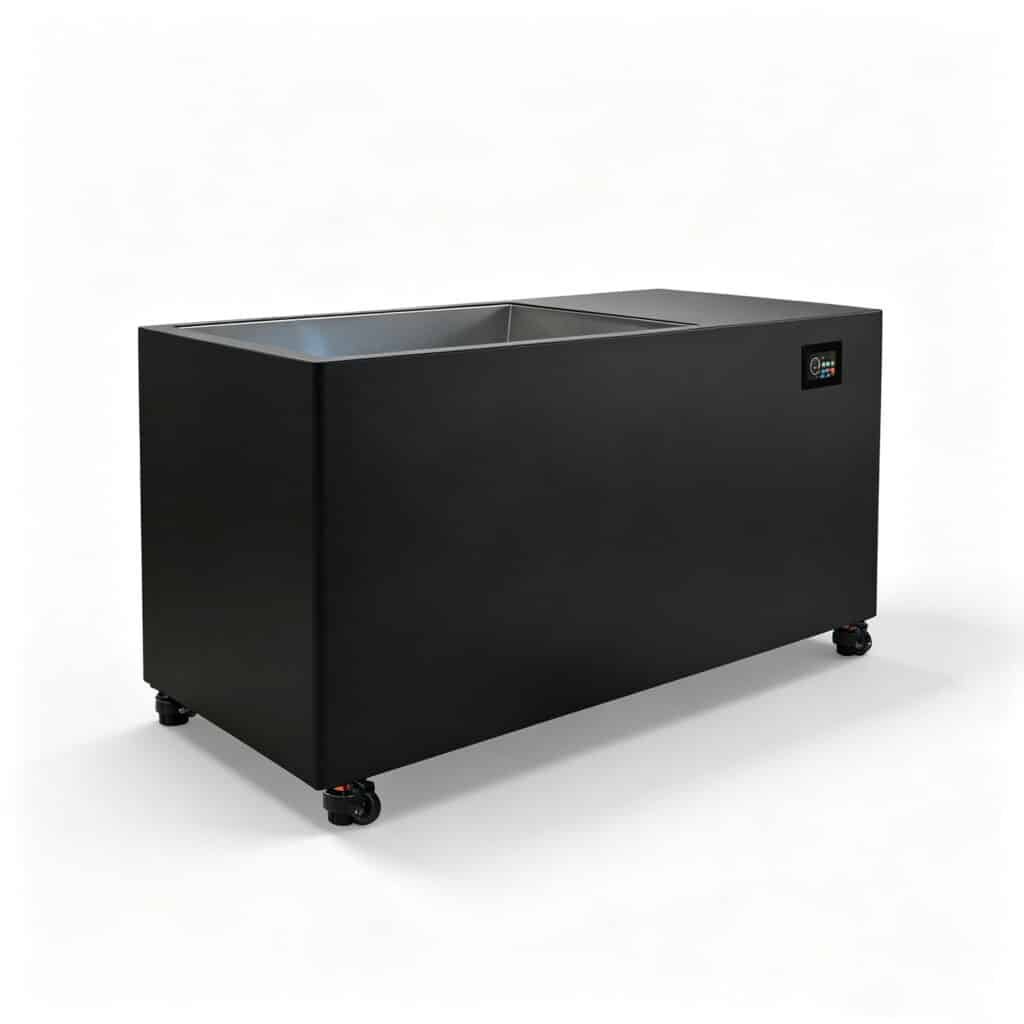
Keep the manual for the exact model and electrical version beside the unit. Identify which pump, filter, hoses and fittings are included, and which are supplied separately. An integrated tub-and-chiller package and a separate chiller connected to a tub do not necessarily use the same connection order or startup sequence.
If you are still selecting equipment, start with the chiller selection guide. If you are assembling a system from separate components, use the DIY system planning guide before following an operating procedure.
Check the complete water path
Trace the route from the tub outlet to the circulation equipment and back to the tub. Use the direction labels on the equipment and the manufacturer’s diagram. Do not identify an inlet or outlet by its position in a photograph of a different model.
| Item | What to confirm before filling |
|---|---|
| Tub and fittings | The intended operating water volume, compatible ports, sound seals and a supported hose route. |
| Pump | Whether it is internal or external, where it must be installed and the exact filling or priming procedure. |
| Filter and strainer | The approved parts, correct installation direction and enough access to inspect and service them. |
| Hoses | The specified connection sizes, no sharp bends or crushing, and a route that does not obstruct access. |
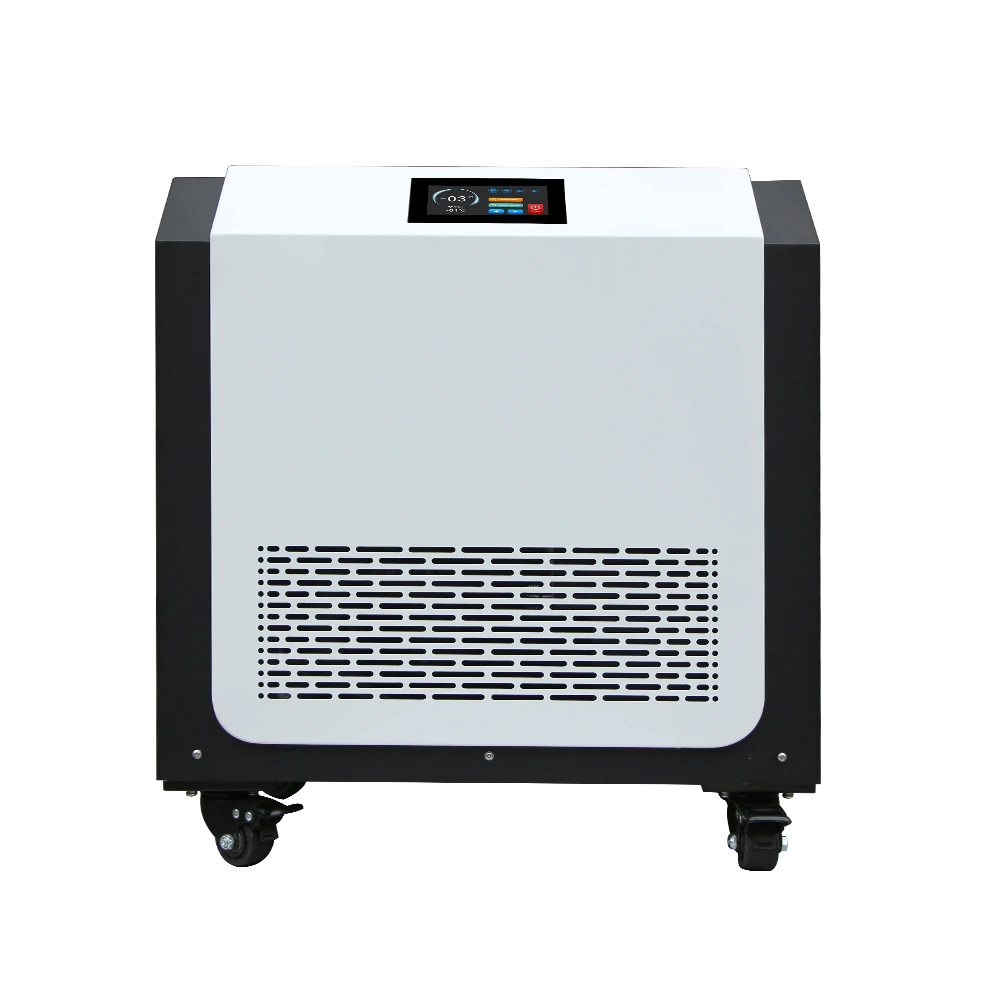
| Chiller location | A suitable support surface, the ventilation clearances in its instructions and access to service points. |
| Power supply | The exact electrical rating and required protective arrangements, checked by a qualified installer where needed. |
There is no universal hose diameter or pump position for every cold plunge. A larger hose does not correct an incompatible fitting, an incorrectly placed pump or a filter that restricts the approved water path. Do not bypass a required filter or flow-protection device to make the machine start.
Connect and fill before attempting cooling
Keep the equipment switched off while making the external connections, and follow its isolation and installation instructions. Check the seals and fittings before introducing water. Avoid placing a hose where a cover, cabinet door or user movement can pinch it.
Fill the tub to the operating level specified for the installation. Follow the documented sequence for filling the filter housing and water path and for priming the pump. A self-priming label is not permission to run a pump dry or to ignore its mounting requirements.
Check for visible leaks during filling and again when circulation is established. If a connection leaks, stop and use the shutdown procedure before adjusting it. Do not open a filter housing while the equipment is operating or while the housing remains pressurized.
Verify circulation before assessing cooling
Use the model’s operating instructions to start the circulation sequence. Confirm that water is returning to the tub and that the controller is not reporting a flow-related fault. Listen for a change in pump sound and inspect the visible hose route and water level.
If the pump runs but water does not return normally, stop repeated cooling attempts. Check the external water level, accessible filter condition, hose restrictions and the permitted air-removal procedure. The pump-not-drawing-water guide separates these external checks from work that belongs to service personnel.
How to chill water for cold plunge on the first run
Once the water path is operating as intended, select a setting within the exact unit’s permitted range. The controller’s available setting is an equipment specification, not a recommendation for a person’s bathing temperature. Follow the operator’s applicable safety rules separately.
Record the starting water temperature, water volume, ambient conditions and start time. Use a consistent measurement location rather than comparing one reading at a cold return jet with another reading elsewhere in the tub. Note whether the cover is fitted and whether sunlight or repeated use is adding heat.
Check the temperature trend during the run. Cooling time depends on the actual equipment and conditions; a horsepower label alone cannot establish that a particular tub will reach a chosen temperature in an hour. Do not substitute a marketing video recorded under different conditions for a documented performance point.
If the water is not cooling as expected, record the controller message and observed flow before changing settings. Use the no-cooling troubleshooting guide. Do not bypass a protection, repeatedly reset a fault or change electrical or refrigerant components to force operation.
Keep a short startup record
A record makes a later support request more useful than “the unit is not cold enough.” It also gives the next operator a reference for the installation as it actually runs.
| Record | Useful detail |
|---|---|
| Equipment identity | Model, serial number, electrical version and the manual used. |
| Water and surroundings | Operating volume, starting temperature, ambient conditions and cover status. |
| Installation | A photo of the external hose route, fittings, pump and filter arrangement. |
| Observations | Start time, subsequent temperature readings, return flow and any controller message. |
| Action taken | What was checked, what changed and whether normal operation returned. |
This is an operating record, not a certified performance test or a factory acceptance report. Do not infer the performance of another model or a different water volume from it.
After startup: routine operation and water care
Keep the ventilation path and service access clear. Recheck visible connections and return flow, and inspect the required filter or strainer according to the manual and observed conditions. A cover and appropriate insulation can help manage heat gain, but they do not replace a correctly selected chiller or adequate airflow.
Cooling, filtration, disinfection where applicable, and cleaning are separate tasks. Clear or cold-looking water is not proof that a water-management plan is unnecessary. The CDC’s recreational-water guidance is a general health reference; equipment-specific instructions and applicable operating requirements still matter.
For cartridge cleaning, replacement and condition-based checks, use the filter maintenance guide. Stop and follow the specified inspection procedure if flow, water condition or equipment behaviour changes.
Questions about using a cold plunge chiller
How cold can this setup make the water?
Use the permitted water-temperature range and performance information for the exact model and version. The minimum control setting does not establish the cooling output at every ambient temperature or guarantee that every tub will reach it.
How long should the first cooling run take?
There is no reliable universal time. Compare the recorded water volume, starting temperature, target, ambient conditions and installation with the supplier’s documented test conditions.
Can the same unit also heat the water?
Only if that exact version includes a documented heating mode. Do not assume that all units in a product family share cooling, heating, filtration or treatment functions.
Does a quick-connect fitting eliminate installation checks?
No. The ports, seals, water path, operating level, location and power supply still need to match the equipment’s instructions. A fitting that connects physically is not by itself proof of a suitable installation.
For an OMNI Ice equipment question, send the model plate and external setup photos through the contact and support page. That allows the discussion to stay with the actual unit rather than an assumed generic configuration.