A facility-level cold plunge chiller filter system should be designed as an inspectable water path rather than a standalone cold tub. For shared or commercial use, the practical priorities are appropriate circulation, accessible filtration, model-specific temperature control, documented servicing, and operating procedures that match the actual number of users.
For a system-level introduction to cooling, filtration, and routine upkeep, read our <clean filter guide. Before treating any general water guidance as a requirement, confirm the local rules and the instructions for the exact equipment installed.
What exactly is a “chiller + filter” loop—and why order matters
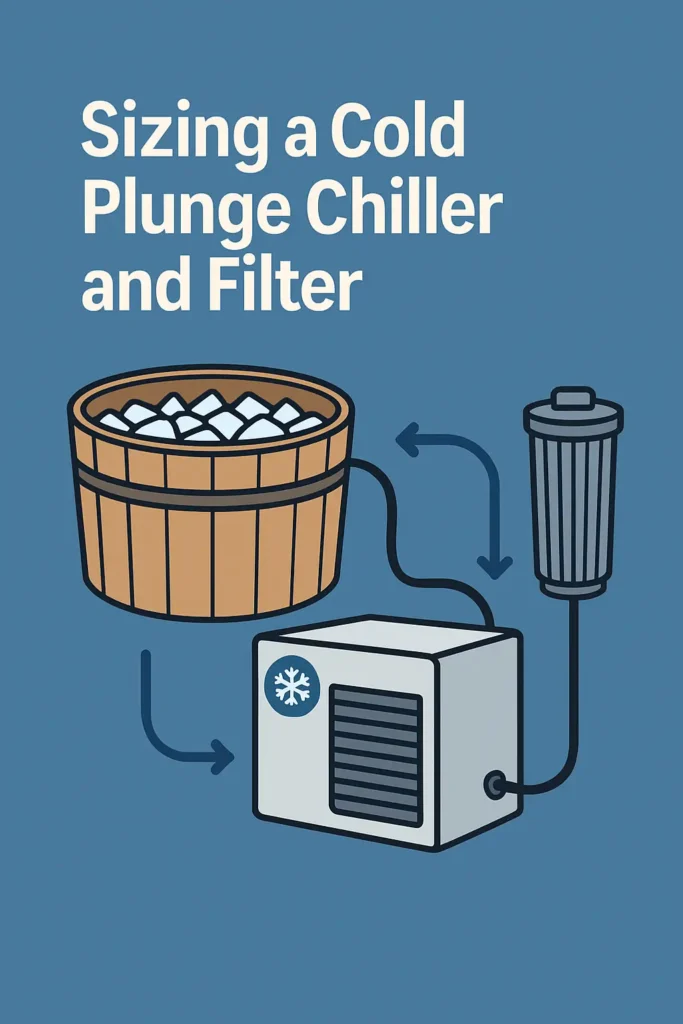
A typical circulation path is: Tub → filter → circulation pump → chiller heat exchanger → return to tub. The actual order, fittings, and flow direction must follow the plumbing diagram for the exact unit.
Putting a serviceable filter upstream of the heat exchanger can help limit physical debris reaching the cooling path. It does not replace the water-treatment, inspection, and service steps required for the facility.
For pool, spa, and hot-tub components, NSF/ANSI/CAN 50 equipment certification is a relevant reference for filters, pumps, controllers, and supplemental disinfection equipment. Confirm certification for each exact component rather than assuming every part of an integrated system is covered.
For a ready-matched kit approach, compare models under Cold Plunge Systems – Tubs,Chillers & Full OEM Combos and shortlist by volume, turnover, and serviceability.
This loop logic—especially filter-first protection and turnover control—is explained in more detail in our complete guide to cold plunge chillers with filters, including sizing, hygiene standards, and real-world maintenance considerations.
Set Operating Temperature Within the Model’s Rated Range
Set water temperature within the manufacturer’s rated operating range and build the facility policy around the equipment, user group, intended programme, and applicable local requirements. A lower setpoint is not automatically better, and a single time-and-temperature rule does not suit every user or facility.
Record the target temperature, actual water temperature, and any access limits used by your facility. Where you provide health-facing or training guidance, have that policy reviewed by an appropriately qualified professional.
Hygiene, Records, and Local Requirements
Public or shared installations need a written routine for water treatment, testing, filter service, temperature checks, incident response, and record keeping. The exact requirements depend on local laws, facility type, water-treatment plan, and the installed equipment.
CDC’s Model Aquatic Health Code (MAHC) is voluntary guidance for public pools, hot tubs, and similar aquatic venues; it is not federal law and does not replace local rules. Use it as a reference when relevant, then confirm the requirements that apply to your site.
• Record water-quality and temperature checks using parameters appropriate for your facility and water-treatment plan.
• Inspect flow, filter condition, visible water condition, and accessible connections at intervals that match actual use and the manufacturer’s instructions.
• Keep maintenance records and document abnormal water conditions, leaks, controller faults, shutdowns, and corrective actions.
• Contact local health or building authorities, or a qualified professional, when a commercial installation has compliance questions.
For components specified for pool, spa, or hot-tub applications, NSF/ANSI/CAN 50 equipment certification can be a useful procurement reference. Confirm certification for the exact component, not just a similar model or a supplier claim.
Engineer the Loop: Size for the Actual Installation
Circulation
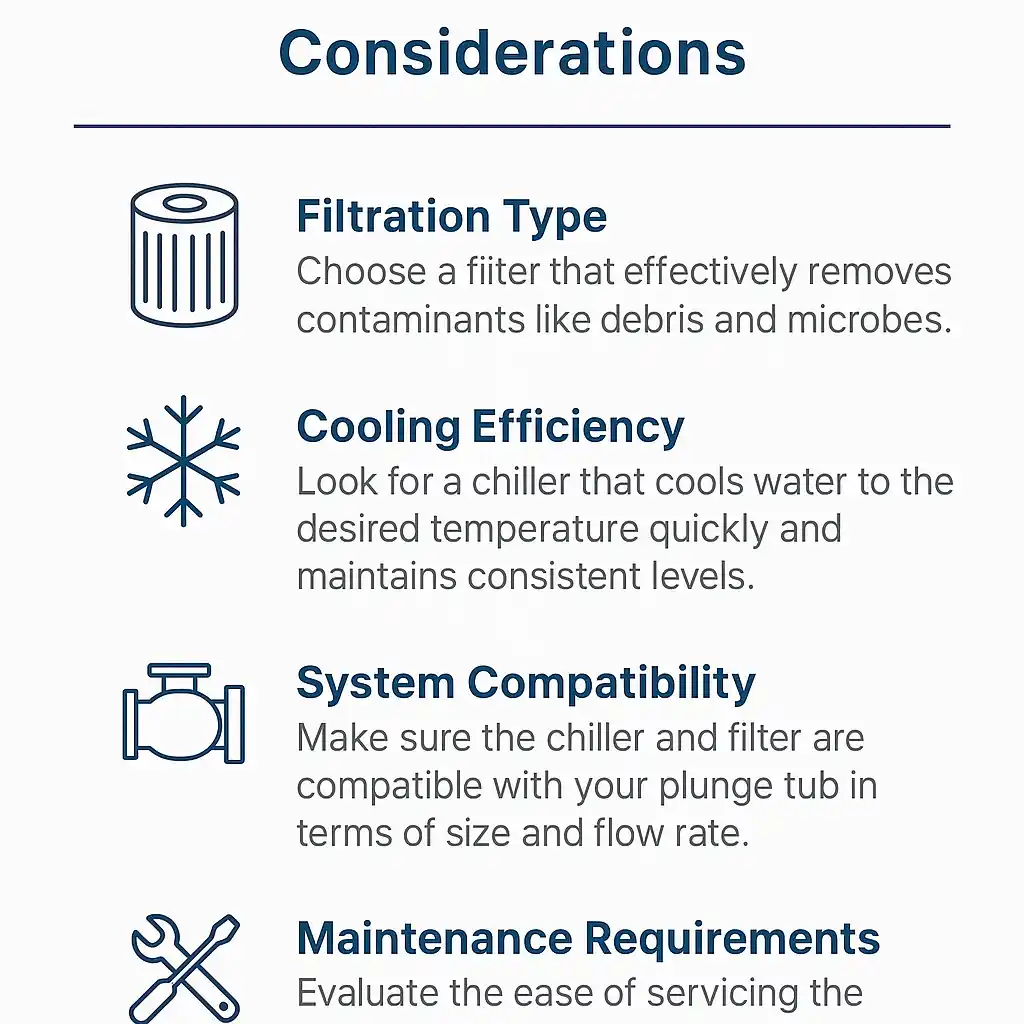
Select a pump from its curve at the actual hose length, elevation, fittings, filter resistance, and chiller pressure drop. A nameplate flow value alone is not sufficient. Determine the required recirculation rate with the equipment supplier and any applicable facility requirements.
Filtration
Choose cartridge, sand, or another filtration method based on water volume, user load, debris profile, service access, and documented operating requirements. Use the manufacturer’s pressure or flow indicators to determine when service is due; do not rely on one micron rating or replacement interval for every system.
Chiller Capacity and Controls
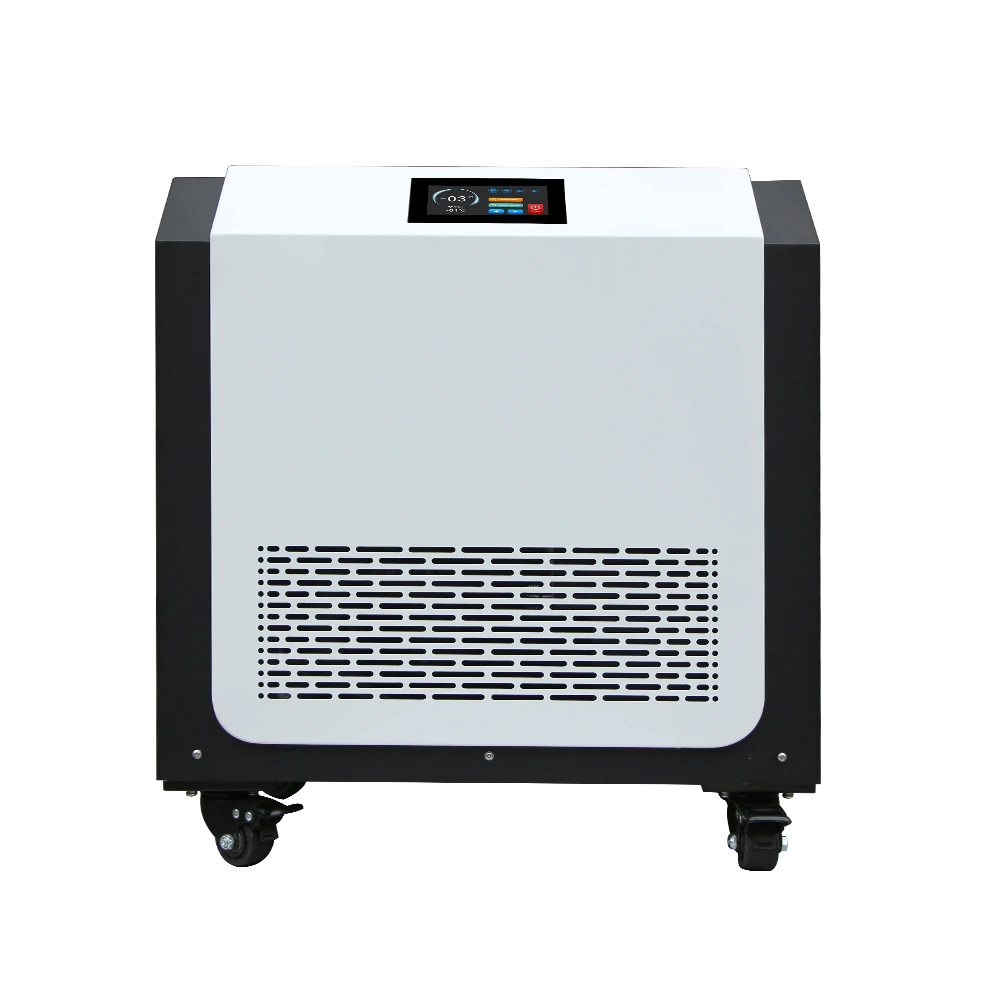
Size a cold plunge chiller filter system for the actual water volume, starting water temperature, ambient conditions, insulation, and recovery schedule. Confirm the manufacturer’s operating range, electrical requirements, flow and level protections, and ventilation clearance before commissioning.
Record measured flow and temperature performance after installation so that future deviations can be identified early.
TCO/ROI: Build a Site-Specific Estimate
Operating cost should be calculated from site-specific inputs rather than a universal annual saving or payback claim. Include tub volume, starting and target water temperature, ambient conditions, usage pattern, local ice and electricity prices, staff time, water treatment, filter consumables, maintenance, downtime, and installation costs.
A cold plunge chiller filter system can reduce manual ice handling and help create more predictable operation, but actual energy use depends on equipment sizing, insulation, compressor duty cycle, water temperature, ventilation, and maintenance condition.
When comparing options, ask suppliers for the assumptions behind their calculations and compare them against your own operating data. Treat any time-to-payback estimate as a scenario, not a guaranteed result.
Implementation blueprint: from survey to SOP
Step 1 — Site survey
Measure vessel volume; map an equipment pad with drainage; confirm power, ventilation, and hose runs.
Step 2 — Loop design
Pick cartridge vs. sand; size pump for target turnover; confirm hose diameters/quick-disconnects; add check valves where needed.
Step 3 — Controls & safety
Set PID control with lockouts; verify flow/level sensors; GFCI/RCD; anti-freeze; audible alarms.
Step 4 — Commissioning
Leak test; verify flow in LPM and ΔT; record time-to-target temperature; set filter change thresholds by differential pressure.
Step 5 — SOP + logs
Set an SOP based on the manufacturer’s instructions, the water-treatment plan, actual operating hours, and applicable local requirements. Record the checks appropriate to your facility—such as temperature, circulation, filter condition, water-treatment readings, leaks, and corrective actions—at intervals that match the system and its use. Escalate unusual water conditions or repeat faults through the approved service procedure.
Want a factory-grade starting point? Compare OEM-matched kits under Cold Plunge Systems – Tubs, Chillers & Full OEM Combos, then step up to a fully custom loop via our ice bath chiller manufacturer hub.
Five common failure modes (and how the filter prevents them)
Filter placed after the chiller → debris fouls the heat-exchanger first; efficiency tanks.
Undersized filter area → high ΔP, cavitation, seal wear, and nuisance shutdowns.
Ignoring head loss → delivered flow misses turnover target; chemistry “dead zones.”
No secondary disinfection at high load → cloudy water and odor despite decent filtration.
No records → you can’t diagnose trends or pass audits; MAHC-style logs fix this.
Buyer’s checklist (copy into your RFQ)
Chiller: rated capacity, confirmed operating temperature range, power requirements, alarms, ventilation needs, installation space, and service access.
Filter: filtration type, effective area, pressure or flow indicators, service method, replacement availability, and compatibility with the intended water-care approach.
Circulation: delivered flow at the actual plumbing layout, verified from the pump curve and expected head loss.
Documentation: installation manual, operating procedure, consumables list, warranty and service route, plus evidence for any certification claimed for the exact component.
For hands-on installation sequencing, read 《chiller and filter setup guide.
Programming the System: Operational Setpoints
Choose setpoints and user-access policies based on the chiller’s rated operating range, the facility’s risk assessment, the intended user group, and applicable local requirements. Do not turn general recovery suggestions into fixed rules for every athlete, guest, or facility.
For each operating programme, document water temperature, the facility’s access policy, water-care status, staff escalation criteria, and who may change the controls. Seek qualified health advice where the facility provides health-facing protocols.
What to show an inspector (or your risk manager)
Component spec sheets noting NSF/ANSI 50 compliance (filters, pumps, UV, automated controllers) and electrical protections.
Daily chemistry and temperature logs, plus filter ΔP service records.
SOPs referencing MAHC logic on turnover and disinfection and the 2024 Annex rationale where useful.
Bottom line
A facility-grade cold plunge chiller filter system should be evaluated as a complete water path: planned flow, serviceable filtration, appropriate water-care controls, documented inspections, and model-specific safety requirements. Reliable operation comes from matching components and routine work to the actual site, not from a universal turnover figure, temperature protocol, or return-on-investment promise.
For a symptom-led next step when water flow, cooling, filtration, or a controller code needs diagnosis, return to the 《troubleshooting guide》.